
 English
 русский
 عربى
عربىPrefab Wood Wall Panel Installation
What Is Prefab Wood Wall Panel Installation?
Prefab wood wall panel installation is the process of mounting pre-manufactured wood panels directly onto interior or exterior walls, significantly reducing labor time and construction costs compared to traditional on-site wood finishing. Unlike custom carpentry, prefab panels arrive ready to install — already cut, finished, and in some cases pre-assembled — which means a typical room can be paneled in a single day rather than several days of skilled labor.
The core appeal is efficiency: installation time is reduced by 40–60% compared to site-built alternatives, and waste is minimized since panels are factory-cut to precision. Whether you're renovating a living room, office accent wall, or a full commercial interior, understanding the installation process is key to achieving clean, lasting results.
Types of Prefab Wood Wall Panels and Their Installation Methods
Not all prefab wood panels install the same way. The panel type determines the tools, adhesives, and fastening methods required.
| Panel Type | Common Installation Method | Typical Thickness | Best For |
| Tongue & Groove Planks | Nail or staple through tongue | 12–18mm | Ceilings, accent walls |
| Shiplap Panels | Face nail or blind nail | 15–20mm | Rustic interiors, feature walls |
| Flat Sheet Panels | Construction adhesive + screws | 6–12mm | Large surfaces, commercial use |
| 3D Textured Panels | Adhesive mounting | 10–25mm | Decorative feature walls |
| Pre-assembled Wall Panels | Clip system or direct screw | 18–30mm | Fast full-wall installation |
Prefab wall panels that come pre-assembled with interlocking clip systems are the fastest option on the market, often requiring no adhesive at all — panels simply lock into a metal or plastic rail system secured to the wall framing.
Tools and Materials You Need Before Starting
Having the right tools ready before you begin prevents mid-installation delays and improves accuracy. Here is a practical checklist:
- Tape measure and chalk line
- Level (at least 48 inches / 1.2m long)
- Stud finder
- Circular saw or miter saw for cutting panels to size
- Nail gun or finish nailer (15–16 gauge nails, 2–2.5 inches)
- Construction adhesive (e.g., panel adhesive rated for wood)
- Caulk gun and matching wood caulk
- Drill and appropriate screw bits
- Safety glasses and hearing protection
- Spacers (for expansion gaps, typically 3–5mm)
For adhesive-only installations on drywall or concrete, you will also need a bonding primer and surface cleaner to maximize adhesion. Skipping surface prep is the single most common reason panels separate within 6–12 months.
Step-by-Step Prefab Wood Wall Panel Installation Process
Step 1 — Acclimate the Panels
Bring the wood panels into the installation room at least 48–72 hours before installation. Wood expands and contracts with humidity. Installing panels that haven't acclimated can cause buckling, gaps, or warping within weeks. Stack panels flat with spacers between them to allow airflow on all sides.
Step 2 — Prepare the Wall Surface
The wall must be clean, dry, and flat. Use a level and straight edge to check for high or low spots — any deviation greater than 3mm over 1.8 meters should be corrected with joint compound or a leveling shim. Remove all baseboards and trim before you start. Locate and mark all studs with a pencil line.
Step 3 — Plan Your Layout
Dry-fit panels before applying adhesive or nails. Start from the most visible corner or center of the wall. Avoid ending with a panel narrower than half its width — this looks unbalanced and is structurally weaker. Offset seams by at least 300mm (12 inches) when using multiple rows to create a staggered, stronger installation.
Step 4 — Install the First Panel
The first panel sets the alignment for all following panels, so precision here is critical. Use a level to confirm the panel is perfectly plumb. For nail-on installations, drive nails into studs at every 400–600mm along the panel height. For adhesive installations, apply adhesive in a serpentine pattern and press firmly, holding for 30–60 seconds.
Step 5 — Continue and Cut to Fit
Work across the wall consistently. For tongue-and-groove panels, insert the tongue of each new panel into the groove of the previous one before fastening. When you reach windows, doors, or outlets, measure twice and use a jigsaw for precise cutouts. Leave a 3–5mm expansion gap at all edges including floor, ceiling, and corners.
Step 6 — Finish Edges and Joints
Once all panels are secured, reinstall or add new trim, baseboards, and corner molding to cover expansion gaps and give the installation a finished appearance. Fill any visible nail holes with color-matched wood filler. Apply caulk along ceiling and floor transitions. Sand any filler smooth once dry, then touch up with finish as needed.
Common Installation Mistakes and How to Avoid Them
Even experienced installers make avoidable errors. These are the most frequent problems encountered on job sites:
- Skipping acclimation: Causes buckling and gaps. Always allow 48–72 hours minimum.
- Not checking for plumb: A panel that's 2mm off plumb on the first row can result in a 20mm cumulative error by the 10th row.
- Using too little adhesive: Insufficient coverage leads to hollow spots and eventual panel separation. Aim for at least 70% surface coverage.
- Ignoring moisture barriers: In bathrooms, kitchens, or exterior-adjacent walls, always install a vapor barrier behind wood panels to prevent mold and warping.
- Nailing into drywall only: Fasten into studs wherever possible. Drywall alone will not hold panels long-term, especially for thicker or heavier panels above 15mm.
- Cutting panels face-up with a circular saw: This causes tear-out on the finished side. Always cut wood panels face-down with a circular saw, or face-up with a fine-tooth jigsaw blade.
Installation on Different Wall Substrates
The wall substrate behind the panels determines the fastening method and prep required.
Drywall (Gypsum Board)
The most common substrate in residential interiors. Use a combination of construction adhesive and nails or screws into studs. Do not rely solely on adhesive for panels heavier than 8kg/m² — always fasten mechanically into studs at 400–600mm intervals.
Concrete or Masonry
Requires concrete anchors or a furring strip (batten) system. Install horizontal wood or metal battens at 400–600mm centers using concrete screws, then fasten panels into the battens. This also creates an air gap that improves insulation and allows moisture to escape. A 20–25mm air gap behind panels on masonry walls is strongly recommended.
Existing Wood Framing or Plywood
The easiest substrate for prefab panel installation. Screws or nails can be driven anywhere along the panel — not just at stud locations. Ensure the existing surface is flat and structurally sound before installing.
Cost Breakdown for Prefab Wood Wall Panel Installation
Installation costs vary widely based on panel type, room size, and whether you hire a professional or DIY. The table below gives a general reference range.
| Cost Factor | DIY Estimate | Professional Install |
| Panel materials (per m²) | $20–$80 | $20–$80 |
| Labor (per m²) | $0 (your time) | $15–$40 |
| Adhesive & fasteners | $30–$80 per room | Included in labor |
| Trim & molding | $3–$10 per linear meter | $3–$10 per linear meter |
| Tools (one-time) | $100–$400 | Not applicable |
For a standard 20m² room, total DIY costs typically run $500–$1,800 depending on panel quality, while professional installation of the same space ranges from $900–$2,800 all-in. Pre-assembled panel systems tend to have higher material costs but lower labor costs since installation is faster.
Maintenance After Installation
Wood wall panels require minimal but regular care to maintain their appearance and structural integrity over time:
- Dust with a soft dry cloth or low-suction vacuum every 1–2 weeks to prevent buildup in grooves.
- For stained or oiled panels, reapply finish every 2–5 years depending on traffic and sun exposure.
- Maintain indoor humidity between 40–60% to minimize expansion and contraction cycles.
- Inspect expansion gaps annually — if they close completely, panels may be swelling and the underlying moisture source should be investigated.
- Spot-clean with a damp (not wet) cloth and mild soap solution. Avoid steam cleaners or excess moisture directly on wood surfaces.
FAQ
Q1: Can prefab wood wall panels be installed directly over existing tile or paint?
Yes, panels can be installed over painted walls if the surface is clean, flat, and structurally sound. Over tile, use an adhesive rated for non-porous surfaces and ensure the tile is firmly bonded — loose tiles will undermine panel adhesion. Mechanical fastening into studs is still recommended.
Q2: How long does it take to install prefab wood panels in an average room?
A standard 20m² room typically takes 4–8 hours for an experienced DIYer using pre-assembled or tongue-and-groove panels. Complex layouts with many cutouts (windows, outlets) or site-mixed adhesive systems take longer.
Q3: Do I need a professional to install prefab wood wall panels?
Not necessarily. Most prefab panel systems are designed for DIY installation and include detailed instructions. Professional installation is recommended for large commercial projects, panels over 25kg/m², or installations on masonry requiring a batten system.
Q4: Are prefab wood wall panels suitable for bathrooms or humid areas?
Only if specified as moisture-resistant. Look for panels with sealed edges and a waterproof or water-resistant finish. Always use a vapor barrier behind panels in wet zones and ensure adequate ventilation to prevent moisture accumulation.
Q5: What is the typical lifespan of prefab wood wall panels?
With proper installation and maintenance, quality prefab wood panels last 20–50 years in interior applications. Lifespan depends heavily on wood species, finish type, and humidity control in the space.
Q6: Can prefab wood panels be removed and reinstalled elsewhere?
Clip-and-rail systems allow non-destructive removal and reinstallation. Adhesive or nail-fastened panels are more difficult to remove without damage — typically 30–50% of panels will crack or split during removal, making full reuse impractical.
-
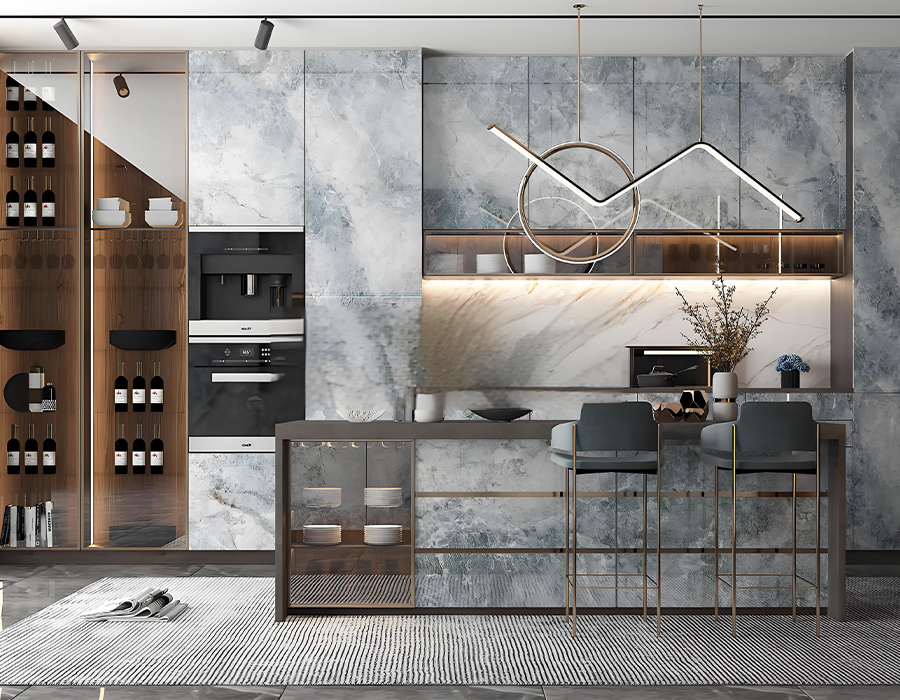 What Are the Key Benefits of Using PEC Wall Panels in Prefabricated Kitchen Pods?
Introduction: Revolutionizing Kitchen Construction with Integrated Solutions The construct...
READ MORE -
 What Are the Key Benefits of Using PEC Wall Panels in Prefabricated Kitchen Pods?
1. Introduction In modern construction and interior design, walls are no longer just for d...
READ MORE -
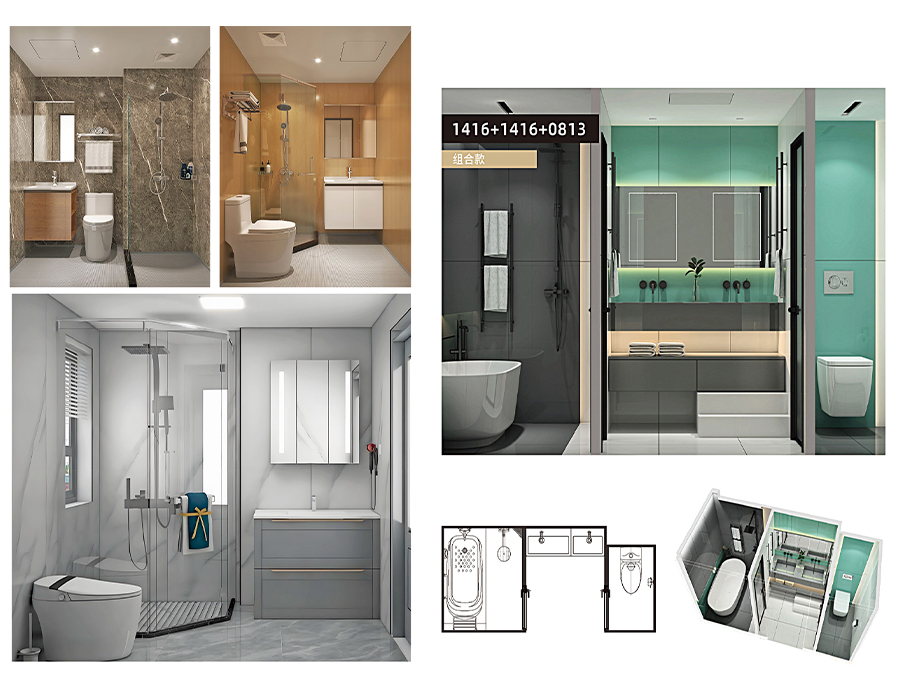 What Are the Key Benefits of Using PEC Wall Panels in Prefabricated Kitchen Pods?
Introduction The construction and interior design industries have witnessed a remarkable s...
READ MORE -
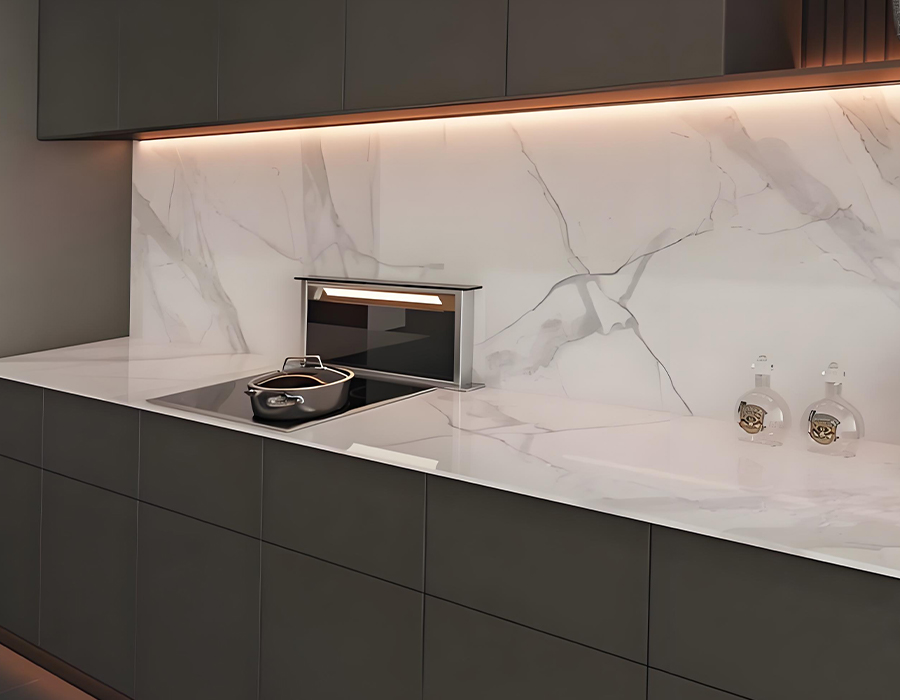 What Are the Key Benefits of Using PEC Wall Panels in Prefabricated Kitchen Pods?
What is a PEC Wall Prefabricated Kitchen and Why is it a Game-Changer? The modern housing ...
READ MORE


-
 16 Jul, 2026
 -
10 Jul, 2026
-
09 Jul, 2026
-
07 Jul, 2026
-
02 Jul, 2026
-
24 Jun, 2026

Copyright © 2025 Jiangsu Kounor Home Technology Co., Ltd.
All Rights Reserved.
Custom Prefabricated Restroom Building, Prefabricated Kitchenette Suppliers
