 English
 русский
 عربى
عربىThe essential guide to installing wooden wall paneling
The Short Answer: Yes, You Can Install Wood Wall Paneling Yourself
Installing wooden wall paneling is one of the most impactful home improvement projects a homeowner or contractor can undertake. It transforms bare drywall into a warm, textured feature wall in a single afternoon — especially when using a modern Quick-install Wood Veneer Panel system designed for tool-light, precision-fit installation. Whether you're working on an accent wall, a full room, or a commercial interior, understanding the process from start to finish ensures a professional result with no wasted materials.
Why Wood Wall Paneling Is Worth the Effort
Wood wall paneling offers benefits that go beyond aesthetics. Here's why designers and homeowners consistently choose it:
- Thermal insulation: Wood has a natural insulating value, helping rooms retain heat more efficiently.
- Acoustic dampening: Paneled walls can reduce sound transmission by up to 30% compared to bare drywall.
- Durability: Quality wood veneered panels can last 20–30 years with minimal maintenance.
- Property value: Finished interior woodwork consistently ranks among the top features that increase perceived home value.
- Design versatility: From rustic barn wood to sleek, linear contemporary styles — there's a panel for every interior.
The combination of practical function and visual appeal makes wooden wall paneling a preferred choice in both residential and commercial projects.
Tools and Materials You'll Need Before Starting
Gathering your tools before starting prevents mid-project delays. The exact list varies by panel system, but a standard installation requires:
| Tool / Material | Purpose | Notes |
| Tape measure & pencil | Layout and marking | Measure twice, cut once |
| Level (4 ft recommended) | Ensuring straight alignment | Critical for first row |
| Miter saw or circular saw | Trimming panels to size | Fine-tooth blade for clean edges |
| Construction adhesive | Securing panels to wall | Use with clips for best results |
| Installation clips / tongue-and-groove | Panel-to-panel connection | Included with quick-install systems |
| Stud finder | Locating wall framing | Important for screw-secured systems |
| Nail gun or finish nails | Optional mechanical fastening | For added hold on heavy panels |
| Safety glasses & dust mask | Personal protection | Required when cutting wood |
For quick-install veneer panel systems, many of these steps are simplified — clips and interlocking edges eliminate most of the measuring and fastening complexity.
How to Prepare Your Wall for Paneling
Proper wall preparation is the most overlooked step in paneling installation — and the most important. Skipping it leads to uneven surfaces, adhesive failure, and visible gaps.
Step 1: Inspect and Repair the Wall Surface
Check for cracks, holes, or protruding nails. Fill any holes with spackle and sand smooth once dry. The wall must be flat within 3mm per linear meter for panels to sit flush. For walls with larger irregularities, a layer of backer board or shimming may be needed.
Step 2: Clean the Surface Thoroughly
Remove dust, grease, and paint flakes. Adhesive bonds significantly better to a clean surface. Use a damp cloth with mild detergent, then allow the wall to dry completely — at least 24 hours before applying any adhesive.
Step 3: Mark Reference Lines
Use a level to draw horizontal and vertical reference lines across the full installation area. These guide your first panel row and ensure every subsequent row stays straight. A single degree of misalignment in the first row compounds visibly over 10–12 panels.
Step 4: Acclimate the Panels
Wood is a natural material that responds to humidity and temperature. Leave panels flat in the installation room for 48–72 hours before installing. This allows them to expand or contract to their equilibrium size, preventing buckling or gaps after installation.
Step-by-Step Installation Process
Once your wall is prepared and panels are acclimated, follow this sequence for a professional result:
- Start from a corner or a fixed vertical reference point. Working outward ensures that any cut panel ends up in the least visible location — typically at the room's exit corner.
- Apply adhesive in a serpentine pattern on the back of the panel, or use the manufacturer's recommended clip system. Adhesive coverage should be at least 70% of the panel back surface.
- Press the first panel firmly against the wall along your reference line. Hold for 30–60 seconds for initial adhesive tack to develop.
- Connect subsequent panels using tongue-and-groove edges or interlocking clips. Quick-install systems require no visible fasteners — panels click together with a consistent 0–1mm seam.
- Check alignment every 3–4 panels with your level. It's far easier to adjust now than after 10 rows are in place.
- Measure and cut edge panels as you approach corners, outlets, or architectural features. Score-and-snap works for thin veneer boards; a fine-tooth saw is better for thicker composite panels.
- Install trim and molding at top, bottom, and corners to finish exposed edges cleanly. Pre-finished trim that matches your panel profile gives the most cohesive look.
Total installation time for a standard 12m² accent wall ranges from 3 to 6 hours depending on panel type and installer experience. Quick-install systems typically cut that time by 40–50% compared to traditional nailed plank methods.
Understanding Quick-Install Wood Veneer Panels
Traditional solid wood paneling requires significant carpentry skills, heavy fastening hardware, and lengthy finishing work. Quick-install wood veneer panel systems were engineered to solve exactly these problems.
What Makes Them Different
These panels combine a real wood veneer surface — typically 0.5mm to 2mm of genuine wood — bonded to a stable engineered core such as MDF, HDF, or plywood. This construction delivers:
- Dimensional stability: Engineered cores resist warping, cupping, and seasonal movement far better than solid wood.
- Consistent sizing: Factory-cut panels fit together precisely without the gaps common in hand-cut solid wood installation.
- Lighter weight: Easier to handle solo — most panels weigh 4–8 kg, compared to 10–15 kg for solid wood equivalents.
- Pre-finished surfaces: Many systems arrive factory-finished, eliminating on-site sanding, staining, and sealing.
Clip and Lock Installation Mechanisms
The defining feature of quick-install systems is the fastening mechanism. Most use one of two approaches:
- Tongue-and-groove interlocking: Panels slide together horizontally or vertically, with no visible hardware once installed.
- Hidden clip rail systems: Horizontal aluminum or steel rails are fixed to the wall first; panels click onto the rails from the front, making them fully removable if needed.
Both systems allow a single person to install up to 15–20 m² per day without specialist carpentry training.
Common Installation Mistakes and How to Avoid Them
Even experienced installers make errors that affect the final result. Here are the most frequent issues and their solutions:
| Mistake | Consequence | Prevention |
| Skipping wall flattening | Panels bow or have visible gaps | Check flatness with a long straightedge before starting |
| No acclimation period | Panels buckle or joints open after install | Allow 48–72 hrs in the room pre-installation |
| Misaligned first row | Cascading misalignment across the wall | Use a laser level for the first reference line |
| Insufficient adhesive coverage | Panels pop away from wall over time | Target 70%+ back coverage; press firmly for 60 seconds |
| Ignoring expansion gaps | Panels buckle in humid conditions | Leave 3–5mm gap at floor, ceiling, and side walls |
| Wrong saw blade for cutting | Veneer chips or tears at edges | Use 60–80 tooth fine-finish blade, cut face-side up |
Choosing the Right Panel for Your Space
Not all wood veneer panels perform equally in all environments. Selecting the right specification prevents problems down the line.
By Room Type
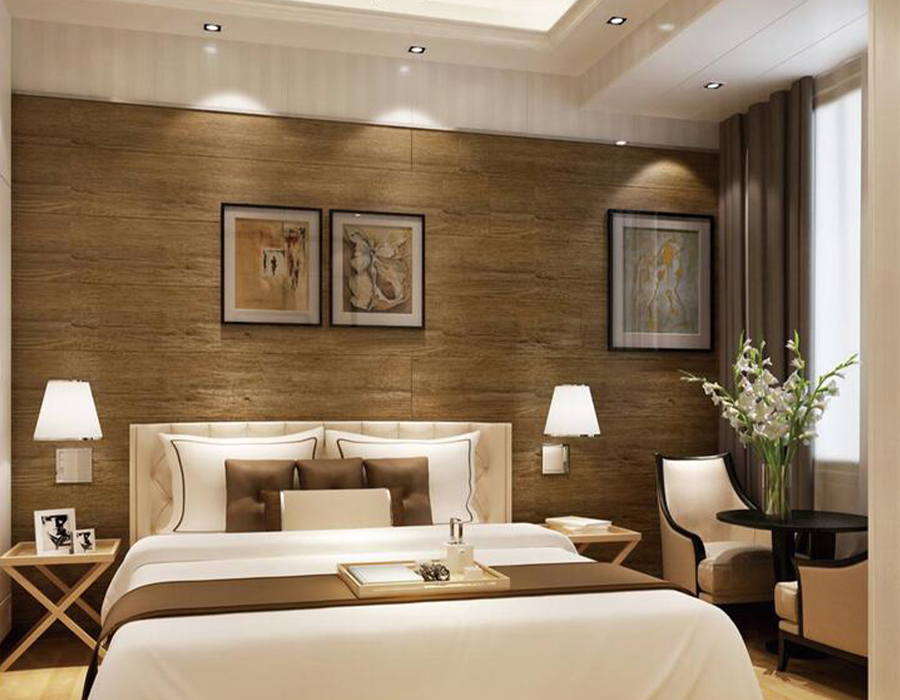
- Living rooms and bedrooms: Standard veneer panels with a matte or satin finish work well. Focus on grain pattern and color consistency.
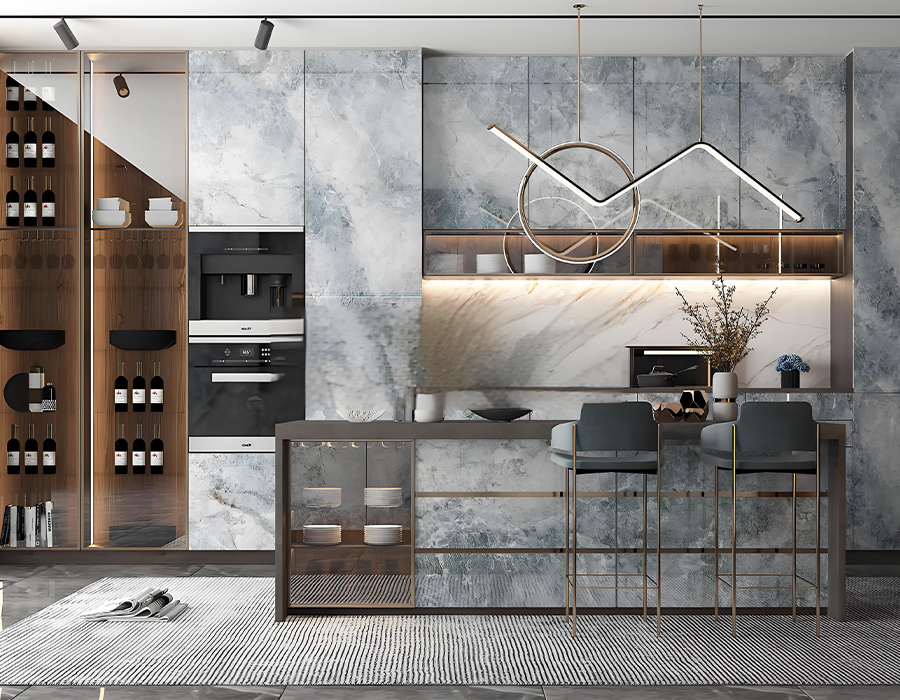
- Kitchens: Choose panels with moisture-resistant cores and a lacquered surface that wipes clean. Avoid open-grain species near cooking areas.
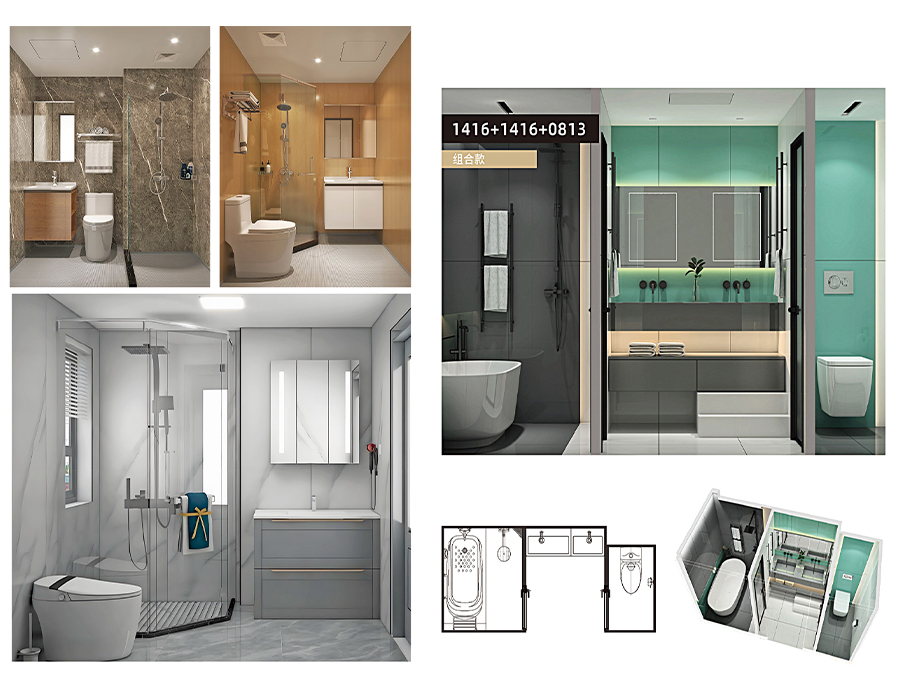
- Bathrooms: Only use panels specifically rated for high-humidity environments. Look for Class 3 or higher moisture resistance on product specifications.
- Commercial spaces: Prioritize fire-rated panels where building codes require it (Class B or Class C fire rating is common for commercial wall cladding).
By Panel Width and Layout Pattern
Panel width significantly affects the visual result. Narrow planks (60–100mm wide) create a more traditional, busy texture, while wide panels (200mm+) produce a contemporary, open feel. Vertical installation makes ceilings appear higher; horizontal installation makes rooms feel wider.
Maintenance After Installation
Properly installed wood veneer wall panels require very little ongoing maintenance. Follow these guidelines to preserve their appearance:
- Dust regularly with a soft, dry microfiber cloth to prevent buildup in wood grain.
- For light marks, use a slightly damp cloth with mild soap — never soak the surface or use abrasive cleaners.
- Inspect seams and edges annually. Re-apply a small amount of matching wood filler or caulk if gaps open due to seasonal movement.
- Refinish oiled or waxed surfaces every 3–5 years to maintain protection. Factory lacquered panels typically need no refinishing for 10+ years under normal use.
- Keep indoor humidity between 40–60% to minimize wood movement. A simple hygrometer helps monitor this.
FAQ
Q1: Can I install wood veneer wall panels directly over existing tiles or painted walls?
Yes, provided the existing surface is flat, firmly adhered, and clean. Loose tiles or peeling paint must be removed first. Adhesive bonds well to painted drywall and smooth tile surfaces when properly prepared.
Q2: How many panels do I need to order for my wall?
Measure the total square footage of the wall and add 10–15% for waste from cuts. For rooms with many windows or doors, 10% overage is usually sufficient; for complex layouts with lots of cutting, use 15%.
Q3: Are quick-install wood veneer panels suitable for exterior walls?
Most quick-install veneer panels are designed for interior use only. Exterior installation requires panels with specific weather-resistant ratings and appropriate sealing. Always check the product's stated application before purchasing.
Q4: Can installed panels be removed without damaging the wall?
Clip-rail systems allow full removal with minimal wall damage. Adhesive-only installations are much harder to remove and will typically damage drywall paper when panels are pulled away.
Q5: What is the typical cost range for wood veneer wall paneling installation?
Material costs vary widely by species and finish — typically $20–$80 per m² for quality veneer panels. Professional installation adds $15–$40 per m² in labor. DIY installation with a quick-install system eliminates labor costs entirely.
Q6: How do I cut around electrical outlets or switches?
Mark the outlet position on the panel face using a template or direct measurement. Cut the opening with a jigsaw or oscillating multi-tool before installing the panel. Always turn off the circuit at the breaker before working near electrical boxes.
-
 What Are the Key Benefits of Using PEC Wall Panels in Prefabricated Kitchen Pods?
Introduction: Revolutionizing Kitchen Construction with Integrated Solutions The construct...
READ MORE -
 What Are the Key Benefits of Using PEC Wall Panels in Prefabricated Kitchen Pods?
1. Introduction In modern construction and interior design, walls are no longer just for d...
READ MORE -
 What Are the Key Benefits of Using PEC Wall Panels in Prefabricated Kitchen Pods?
Introduction The construction and interior design industries have witnessed a remarkable s...
READ MORE -
 What Are the Key Benefits of Using PEC Wall Panels in Prefabricated Kitchen Pods?
What is a PEC Wall Prefabricated Kitchen and Why is it a Game-Changer? The modern housing ...
READ MORE

-
 16 Jul, 2026
 -
10 Jul, 2026
-
09 Jul, 2026
-
07 Jul, 2026
-
02 Jul, 2026
-
24 Jun, 2026

Copyright © 2025 Jiangsu Kounor Home Technology Co., Ltd.
All Rights Reserved.
Custom Prefabricated Restroom Building, Prefabricated Kitchenette Suppliers
